The following is an update of the next action in the campaign!
See attached photo (modern photo, so in period there will be fewer buildings and no modern roads!)

The two armies consisted of the following troops:
Austrian Serbelleni Corps:12 infantry bns, 6 Grenadier cos, 2 Grenz regts. , 2 Kur. regts, 2 Dr. regts, 1 Hus. regts. and 8 12lb gun models. Totals= 1408 infantry figures, 440 cavalry figures, 8 12lb gun models/ 32 artillerymen
Total = 1880 figures (18800 real men)
Bevern's Command (minus battle losses & stragglers):
8 Infantry regts.,4 Grenadier bns., 2 Kur., regts, 2 Dr. regts, 1 Hu. regts, & 8 12lb gun models. Totals =1,240 infantry figures, 460 cavalry figures and 8 12lbers/ artillerymen=32, Totals= 1,732 figures ( 17,320 "real men").
The Battle of Skalice:
Initial deployments:
Austrian left flank, Grenz advancing to take the woods and turn Prussian flank. They are supported by 2 Austrian infantry regts. on their right flank.
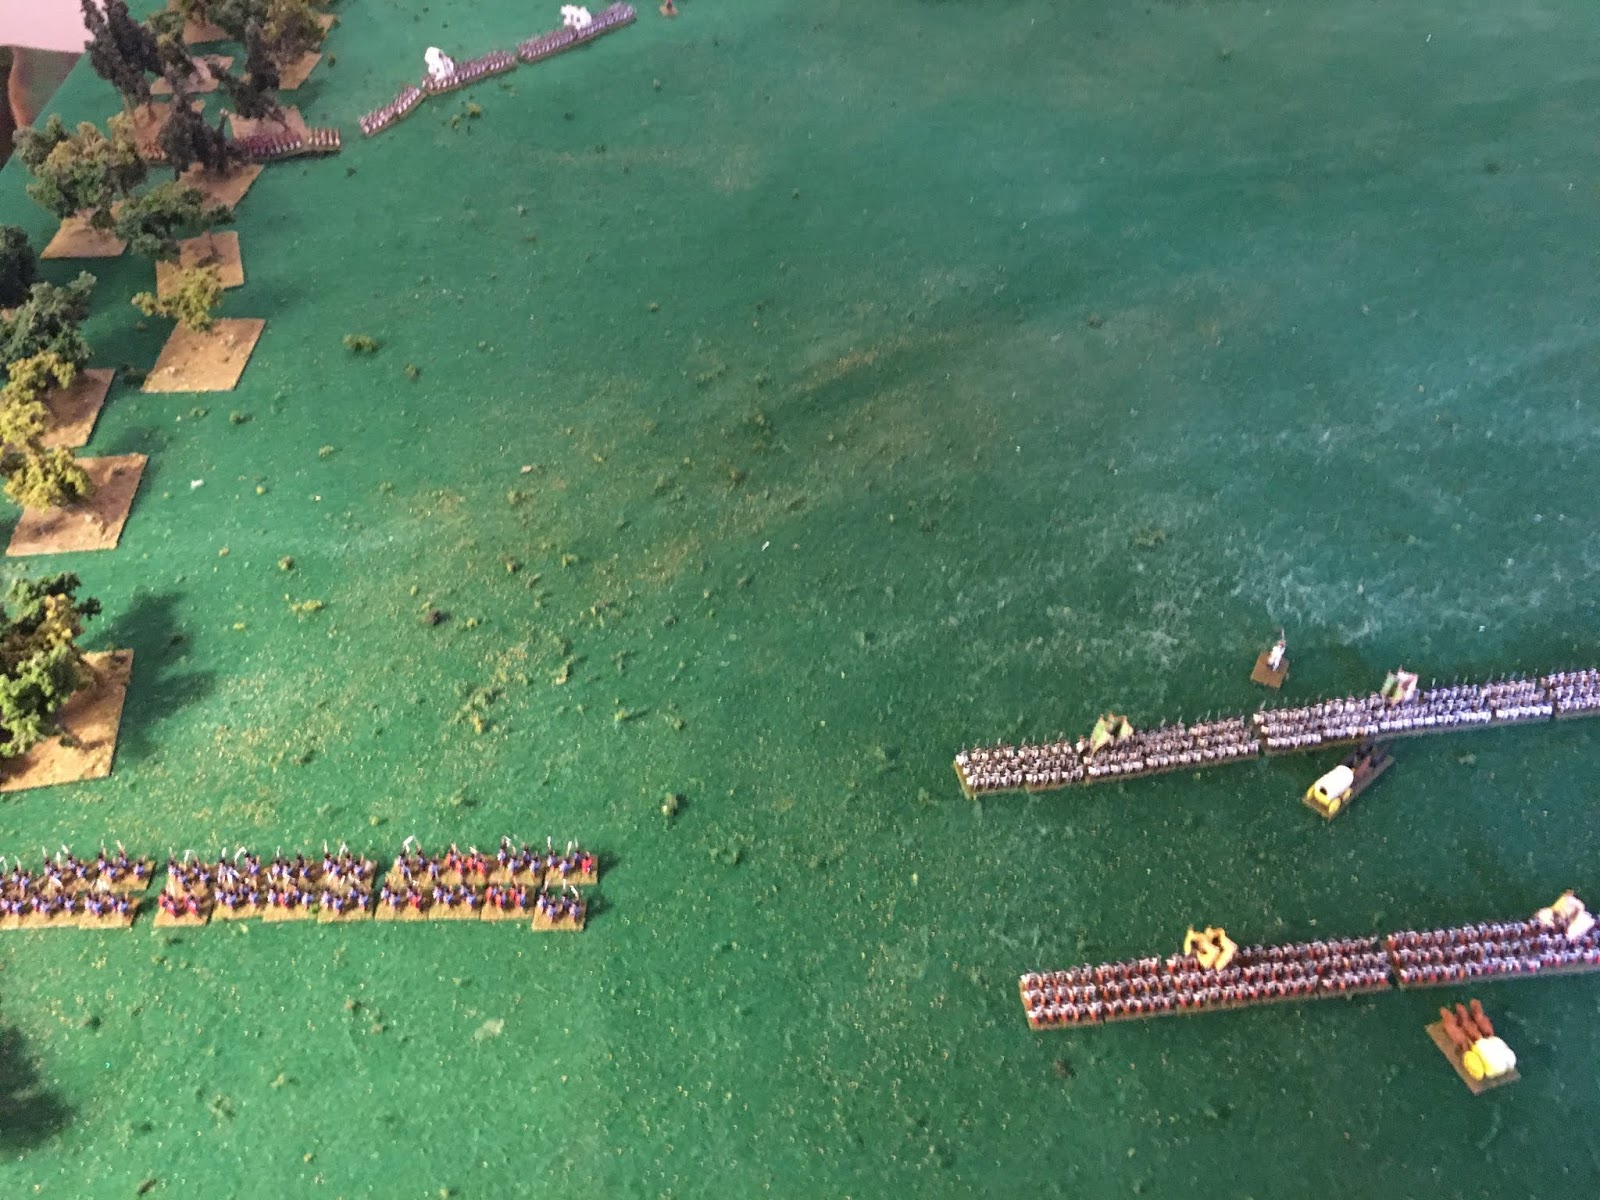
Austrian center advancing on Prussian infantry center.
Austrian artillery limbered moving up in support.
Continuation of Austrian center and beginning of their cavalry forces.

The 4 Austrian heavy cavalry regts. were deployed on their right! Directly opposite of Prussian cavalry. In our rules cavalry are not allowed to charge the first turn of any game. The Austrians intended to destroy the Prussian cavalry and cut the road....forcing the Prussians to surrender.

On the Austrian far right there were 2 more infantry regts and the Nadasdy Hussar regt. These units were suppose to take the village from the Prussians, and then working with their heavy cavalry cut the only road north to Nachod....and safety!
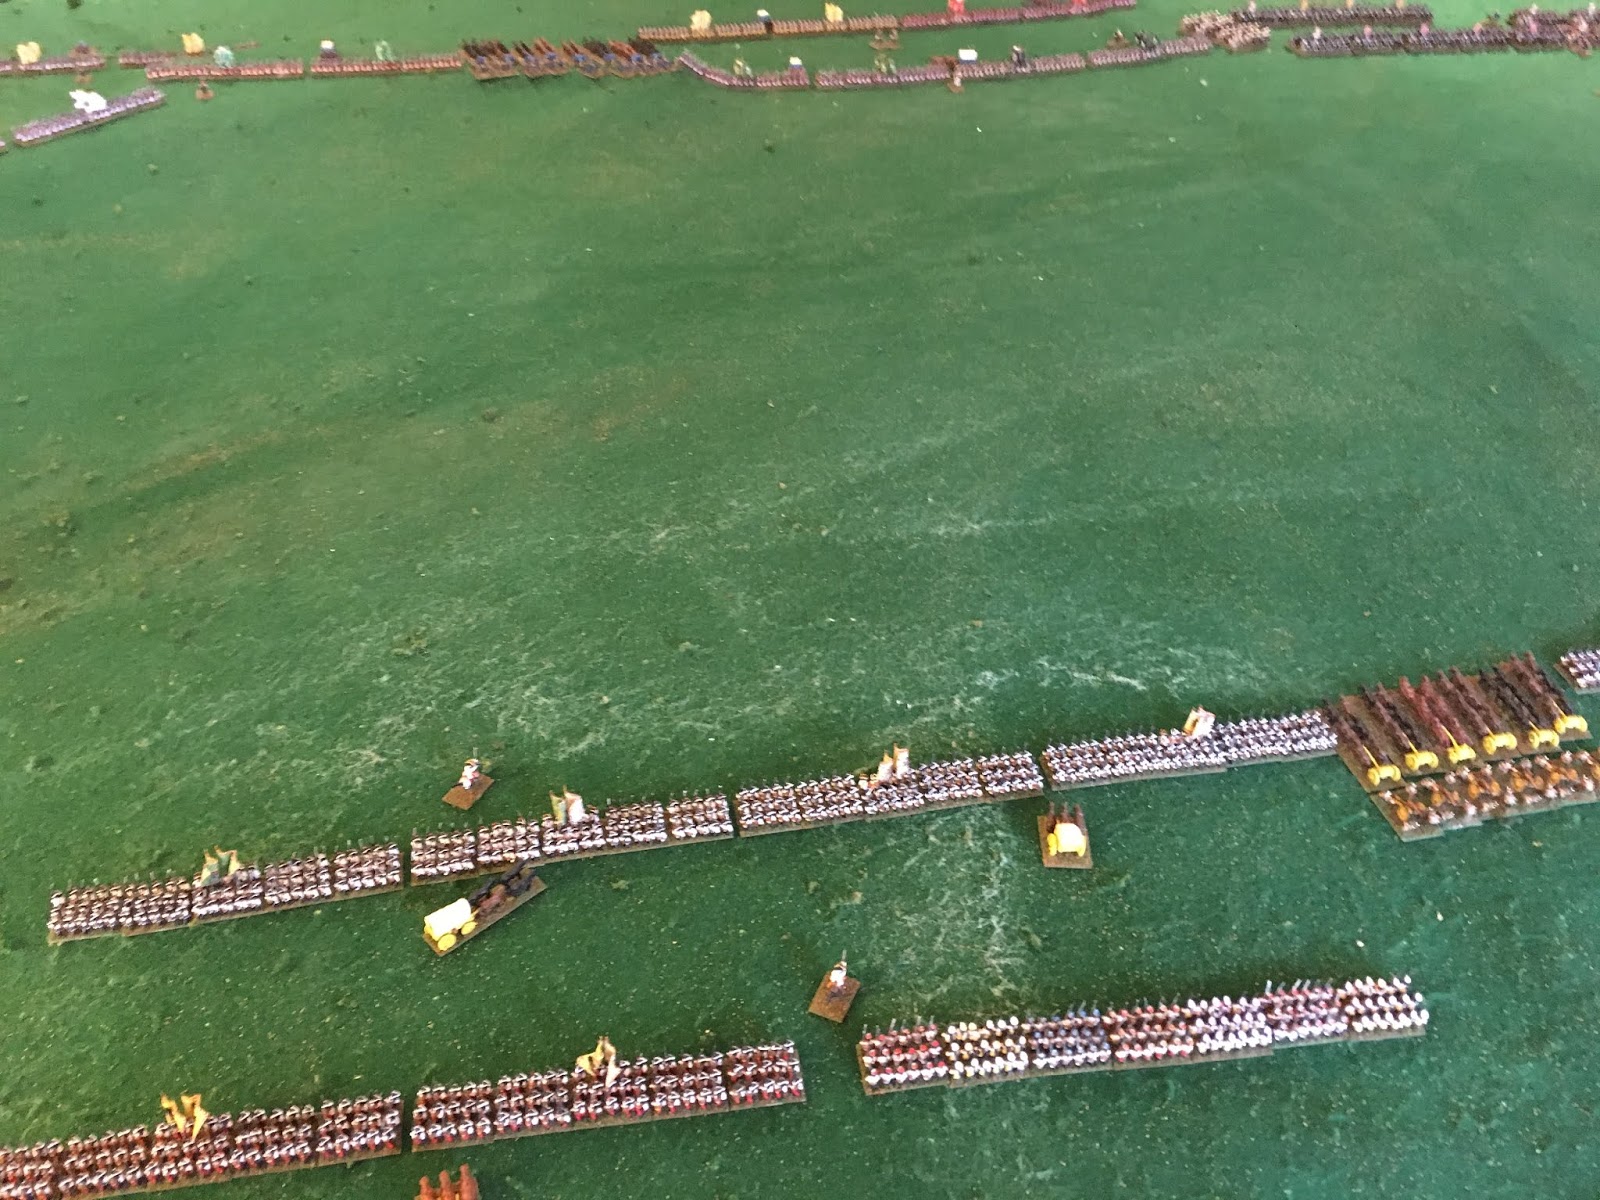
Here is the Prussian far left flank. 2 Greanadier battalions and the 1st battalion of 3rd Hussars hold this flank!

The 4 Prussian heavy cavalry regts. were deployed directly opposite the 4 Austrian regts on this flank. These cavalry had been engaged in the previous battle of Nachod and suffered heavy causalities. The Prussian usually deploy their cavalry on both flanks, but with the river bank on their far right and the village disrupting their communication with the left they placed their cavalry in close support of their infantry battle line.

as one massive 8- 12lb battery. Meaning that Austrians will have to advance under fire....this includes their artillery.


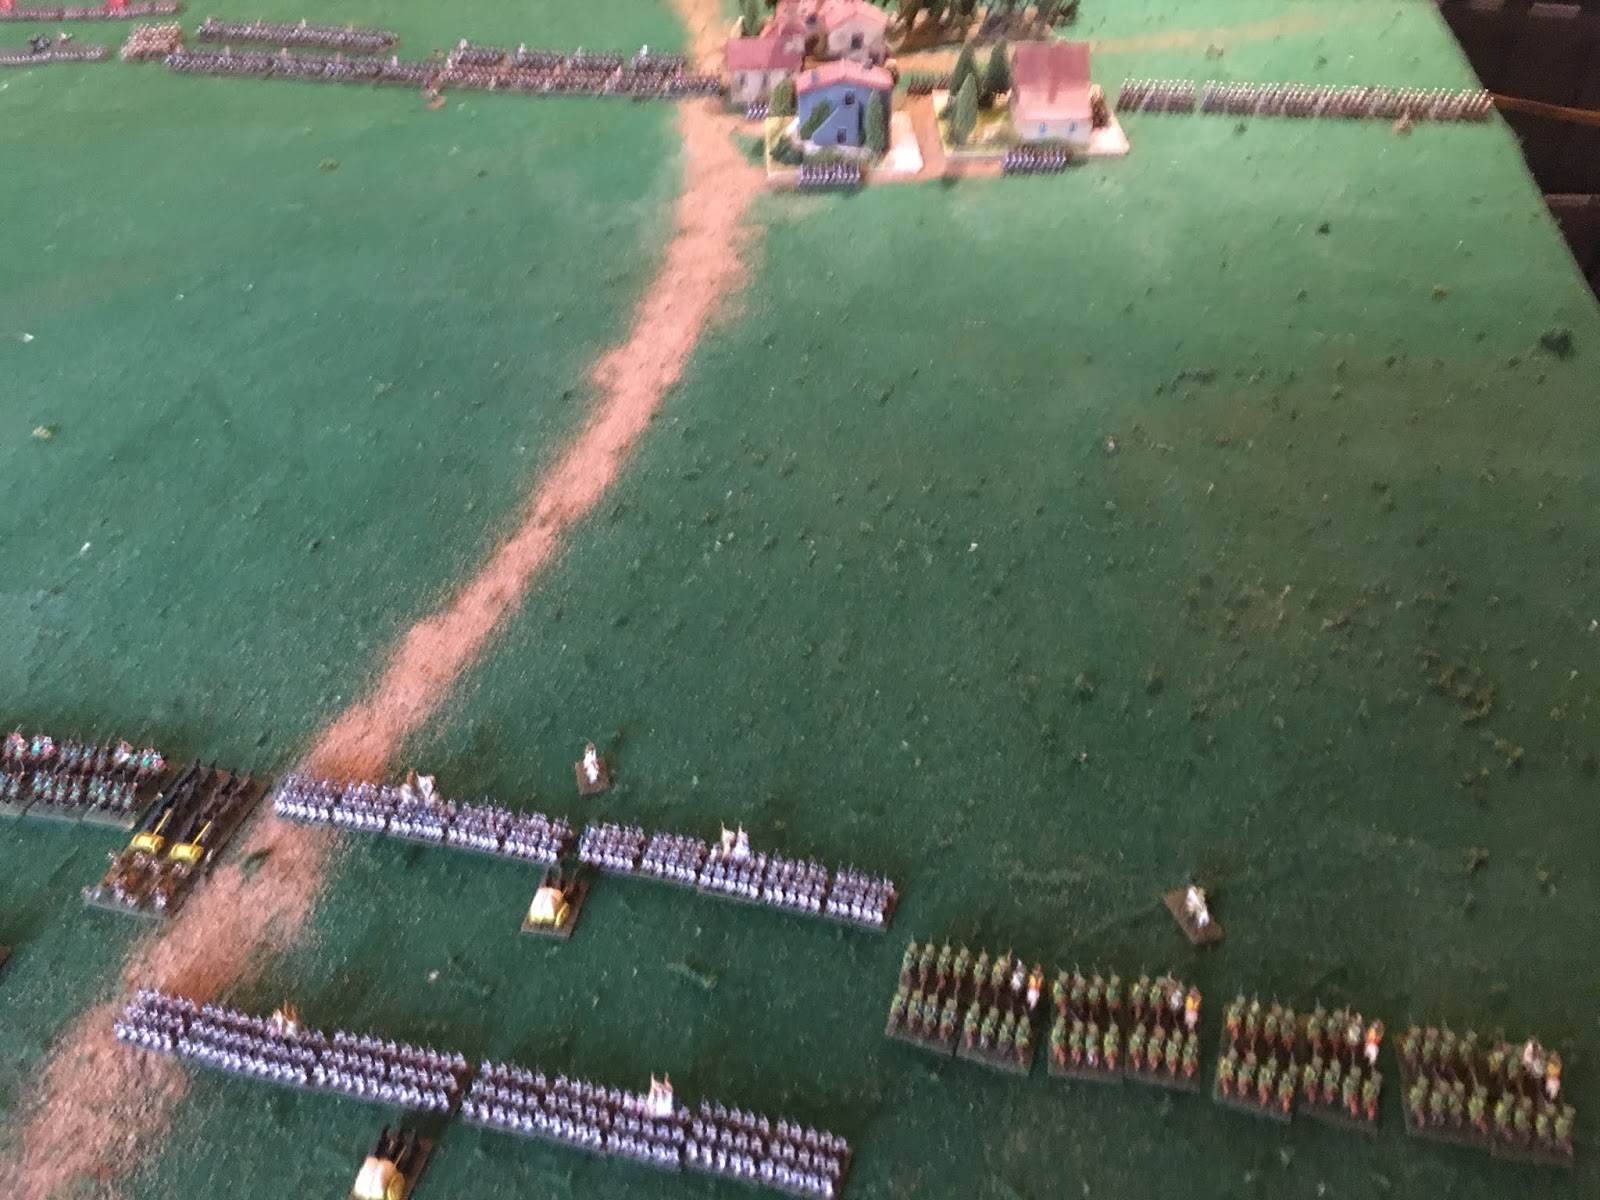
This shows the Prussian far left flank and Austrian right flank with Nadasdy hussars advancing.

Both the Austrian and Prussian heavy cavalry start to maneuver for the charge. A turn is broke into 4 segments and each is stepped off to prevent units from "leaping" into position. If you don't have the space then you can not execute the move. This means that if you "can't see" the move in advance you may become disordered! And be unable to charge!

Another shot of cavalry deployment.

Both sides initially pass morale and charge. But that doesn't mean they will close and cross swords with the enemy. Neither side moved far enough to gain charge impetus...so they could "bounce" and be repelled before they melee. There will have to be more melee checks.

The charge in the center....nothing has been decided!

At this point there are over 900 cavalry figures charging! That equals 9,000 real men and 10 regts.

2 squadrons of the Prussian 3rd hussars have maneuvered to the extent that they have taken the Austrians in flank and rear. They were able to execute this maneuver because they had orders to do just that before the battle....it was not an "opportunist charge"! We don't allow such things unless there is an Senior General leading a "follow me charge"! And then the General is exposed to being killed in the charge. The Austrian infantry don't fire into the charge because they would shoot some of their own in the back and there was insufficient time to get a volley off against just Prussians.

Close-up of the charge!

In the same turn as the cavalry charging, the Prussian artillery fired at the advancing Austrian artillery.

Although the Prussian 3rd Hussars had the advantage of numbers they fail their morale check and begin to rout. Austrian General Nadasdy's presence steadies his namesake regt. and they pass morale.

Although they are one of the best regts in the army the 2nd Prussian Kurassiers fail their morale check and rout....taking with them a sqd. of Hussars and a General!

Close-up of the damage caused by Prussian artillery fire. The Austrians have almost 1/4 of their gunners hit plus 1 caisson and 2 horses.......limbered artillery do not fare well when hit by 12lb fire inside of 30 inches.

It wasn't only the Prussian cavalry that suffered in the charge.
The Austrian 3rd Dragoons and 9th Kurassiers bounced and both eventually routed!

Next the rest of the Austrian heavy cavalry rout leaving only their Nadasdy Hussars on the field. But Prussian cavalry is also damaged!... 2nd Kurassier in rout along with 1st battalion of 3rd Hussars and the rest of their cavalry fatigued, disordered, and unable to charge again for at least 4 turns.

Close-up of "blown" or routing Prussian cavalry! How could the 2nd Kurassier fail! Well! The Prussian cavalry commander did roll "boxcars" 2 times in a row! It will be 4 turns before any Prussian cavalry can advance....and that is only if nothing else happens to them!

The Nadasdy Hussar regt. is only "fully functional" cavalry on the field.

Prussian 2nd Kurassiers in full rout! I don't think that the "lone" General will slow them down!

Austrian artillery and infantry start a very organized retirement from the field
(At the top of the picture...below)


The battle of Skalice ended in a marginal victory for the Prussians. True! They wrecked the Austrian heavy cavalry, but suffered considerably in the fight. And their 3rd Hussars have been seriously "damaged". In terms of casualties the losses were light!
Austrians lost 1 =12lb. gun, 8 gunners, 1 caisson
101 cavalry figures (1010 real men)
No infantry losses.
Prussians lost =no artillery losses
78 cavalry figures (780 real men)
No infantry losses.
Strategic Result:
Austrian Reaction:
Austrians retire back down the road towards Koniggratz. They appear to be looking for another site to give battle before Koniggratz. They have also called up reserves from Koniggratz and the surrounding area.
Prussian Response:
Bevern's cavalry have been severely damaged and he has stopped his advance. He has sent dispatches to the "King" and is awaiting a reply and/or new instructions!
THOUGHTS:
Perhaps it is not a good idea to commit "all" your cavalry to one massive charge! An army with no "fit " cavalry has few alternatives. But then if you were to "win"....Ahhhh! The "Glory" The "Booty"
The "Rewards!"
No comments:
Post a Comment